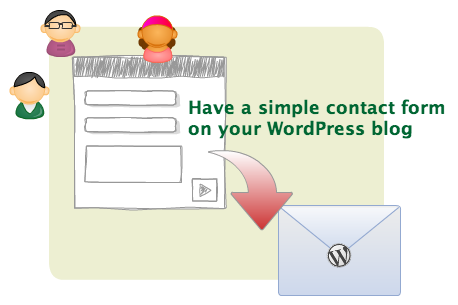
By this useful article you will teach that How to add HTML Contact Form to blogger. I have found and searched that lot of free services are available in this regard. You will be able to find fairly only some of them. I think two are best services, Google Docs and Zoho Creator. If you want to insert contact form in free blog blogger your blog will show professional look due to contact form. Now I describe following two services step by step suggestions and tips how you insert contact form in free blog blogger. If you want to read more about HTML contact form you read also like:
php contact form, css contact form, contact form generator, ajax contact form, contact form tutorial, flash contact form, contact form wordpress.1. Google Docs
1. Google Docs
1. First go to http://docs.google.com/ and then you should be Signup to Google account with gmail after that if you have any problem in signup procedure look at the picture has given below:

2. After that create a new spreadsheet and then click on the tab Form and then click create form for more guideline look at the picture has given below:

3. Now insert your questions and name properly and check the box make this a required questions anywhere. For the comment box, choose Question Type as Paragraph text for more guidance look at the picture has given below:

4. After that you are complete, save the form. Now check the box "Custom confirmation message" and type the message you want to display after the user submits the form for more information look at the picture has given below:

5. Finally click on Embed under the Preview section to get the code. You can edit the width and height of the form by editing the parameters in the code. Whenever any user uses the form, the entries will automatically appear on the spreadsheet. The drawback of using Google doc to create the contact form is that there is no email notification. In view of the above procedure you have understood more and more and Google Doc system is very easy if you want to insert another contact form look at the Zoho Creator.
2. Zoho Creator
2. Zoho Creator
1. This is very popular and great free service signup yourself with gmail account and click on this link http://www.zoho.com/creator/ .Now login with your gmail account accordingly. After that click create new application and in the next page name your form "Contact Form". click next. In the next page, you will discover different fields on the left hand sheet. Drag the Single Line field to the right hand sheet. Name the label Name. Click on options and check the box "This is important field" for more guidance look at the following pictures:

2. In the same way drag the Email field to make email box and the URL field to make a box. Drag the Multiline ground to make the (Comment box). Drag and insert any other basics you desire to insert to the form. Select which fields are compulsory and mark them consequently. Show the picture has given below:

3. See more actions with carefully on the right hand sheet to expose a drop down box. Click on Form Properties, to add a completion. Message will be put on showed after a user submits the form and verification. For more guidance follow the picture has given below:

4. Another time under additional measures, click set email notification and fill-in the particulars to obtain email notification whenever users submit the form. Otherwise you will have to stay checking whether anybody had tried to contact you using the form. Make sure the box "Contain user submitted data" is to be verified. Look the sample has given below:

5. After that you have ended making all grounds, click access this application. On the next page click more actions, Embed in your blogger blog. See picture below for more guidance:

6. You ought to create the form available without involving of login. Click on the suitable link and you should see a message (Through this code snippet, you can access the form without login). Follow the picture has given below:

7. By modify objects and more looks you can further customize the form. Finally copy the code and embed it in a post on free blog blogger. In the way, you can exercise this form on any free blog blogger like Typead and Wordpress. Now you will see the final result of the form look at the picture has given below:

If you like above suggestions please leave your comments.


0 Comments:
Post a Comment